It begins with a provisional cast-on: a temporary cast on using contrasting waste yarn which is eventually removed to reveal live stitches. The method I normally use, a crocheted cast on, does not work well with knitting in the round on double pointed needles because the waste yarn is only easily removed from the opposite direction, so I ended up having to cut out the temporary edge. (just a wee bit stressful, so I DON'T recommend it!!) You'll find instructions for several different provisional cast-ons here. There is also an excellent instructional video here.
Once you've cast on the appropriate number of stitches and divided them evenly on your double points, you'll want to knit several rows. The exact number of rows depends on how long you want your cuff to be. I knit 8 rows.
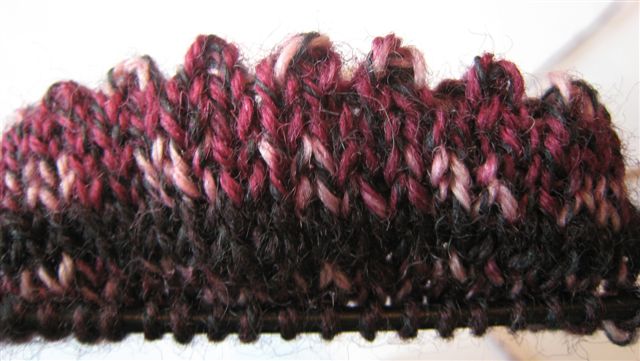
Next, comes the actual picot row. It is simply: yo, k2tog, repeated across one round.
In this photo, you can see the picot row with the holes made by the yarnovers. Once this round is completed, then knit the same number of rows you knit before the picot round.
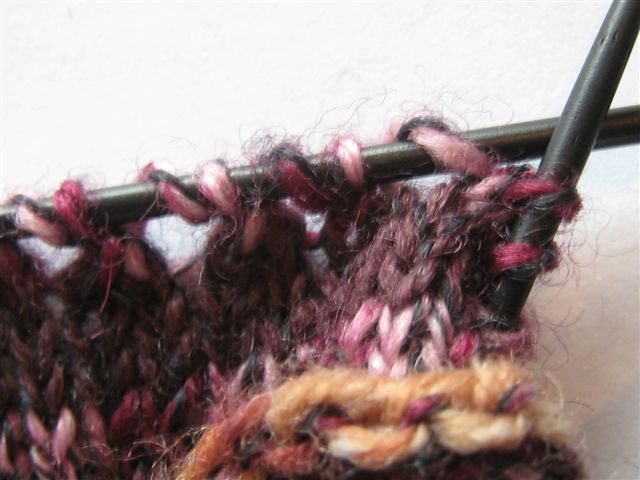
Now here's the tricky part. You have to fold the cast-on edge inside the double pointed needles to form a hem. The cuff will naturally want to fold along the picot row which is what will give the cuff its pretty picot trim. I spent about 30 minutes on this next part. I'd recommend maybe pouring yourself a glass of wine and finding a comfortable chair in a quiet part of the house where you won't be disturbed...
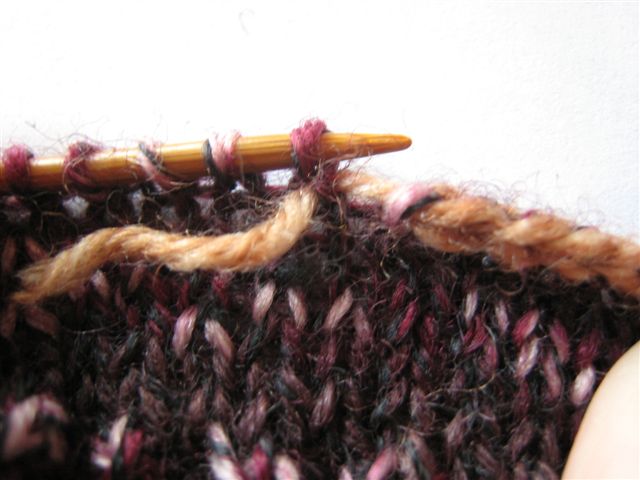
Carefully remove the waste yarn to reveal live stitches. I unraveled one needle's worth of stitches at a time and slipped them onto a spare needle. Here in this photo, you can see my waste yarn was tan and my spare needle was blond. Then, holding the spare needle behind your working needle, knit a row, picking up one stitch from your working needle and one from the spare needle and knitting them together as one stitch.
After you've gone an entire round, all the cast on stitches will have been picked up with the working stitches and the cuff will be double thick and folded at the pretty picot edge!!
If you do decide to give this a try on a sock in place of a normal ribbed cuff, reduce the number of stitches cast on. Ribbing has a natural tendency to tighten making it an ideal elastic band. Picot/stockinette does not, and the cuff will be too loose if worked over the same number of stitches. Try casting on 20% less, and increase evenly on the first round after the cuff band to get back to the correct number of stitches.
If my ankle socks turn out nice, and people are interested, we might put together an intermediate sock class for the winter schedule. I promise the pattern won't be this wordy!!
Give it a try,
yours in knitting,
Claire
No comments:
Post a Comment